3D Configurator
Visual configuration of products online
3D Configurator – what is it?
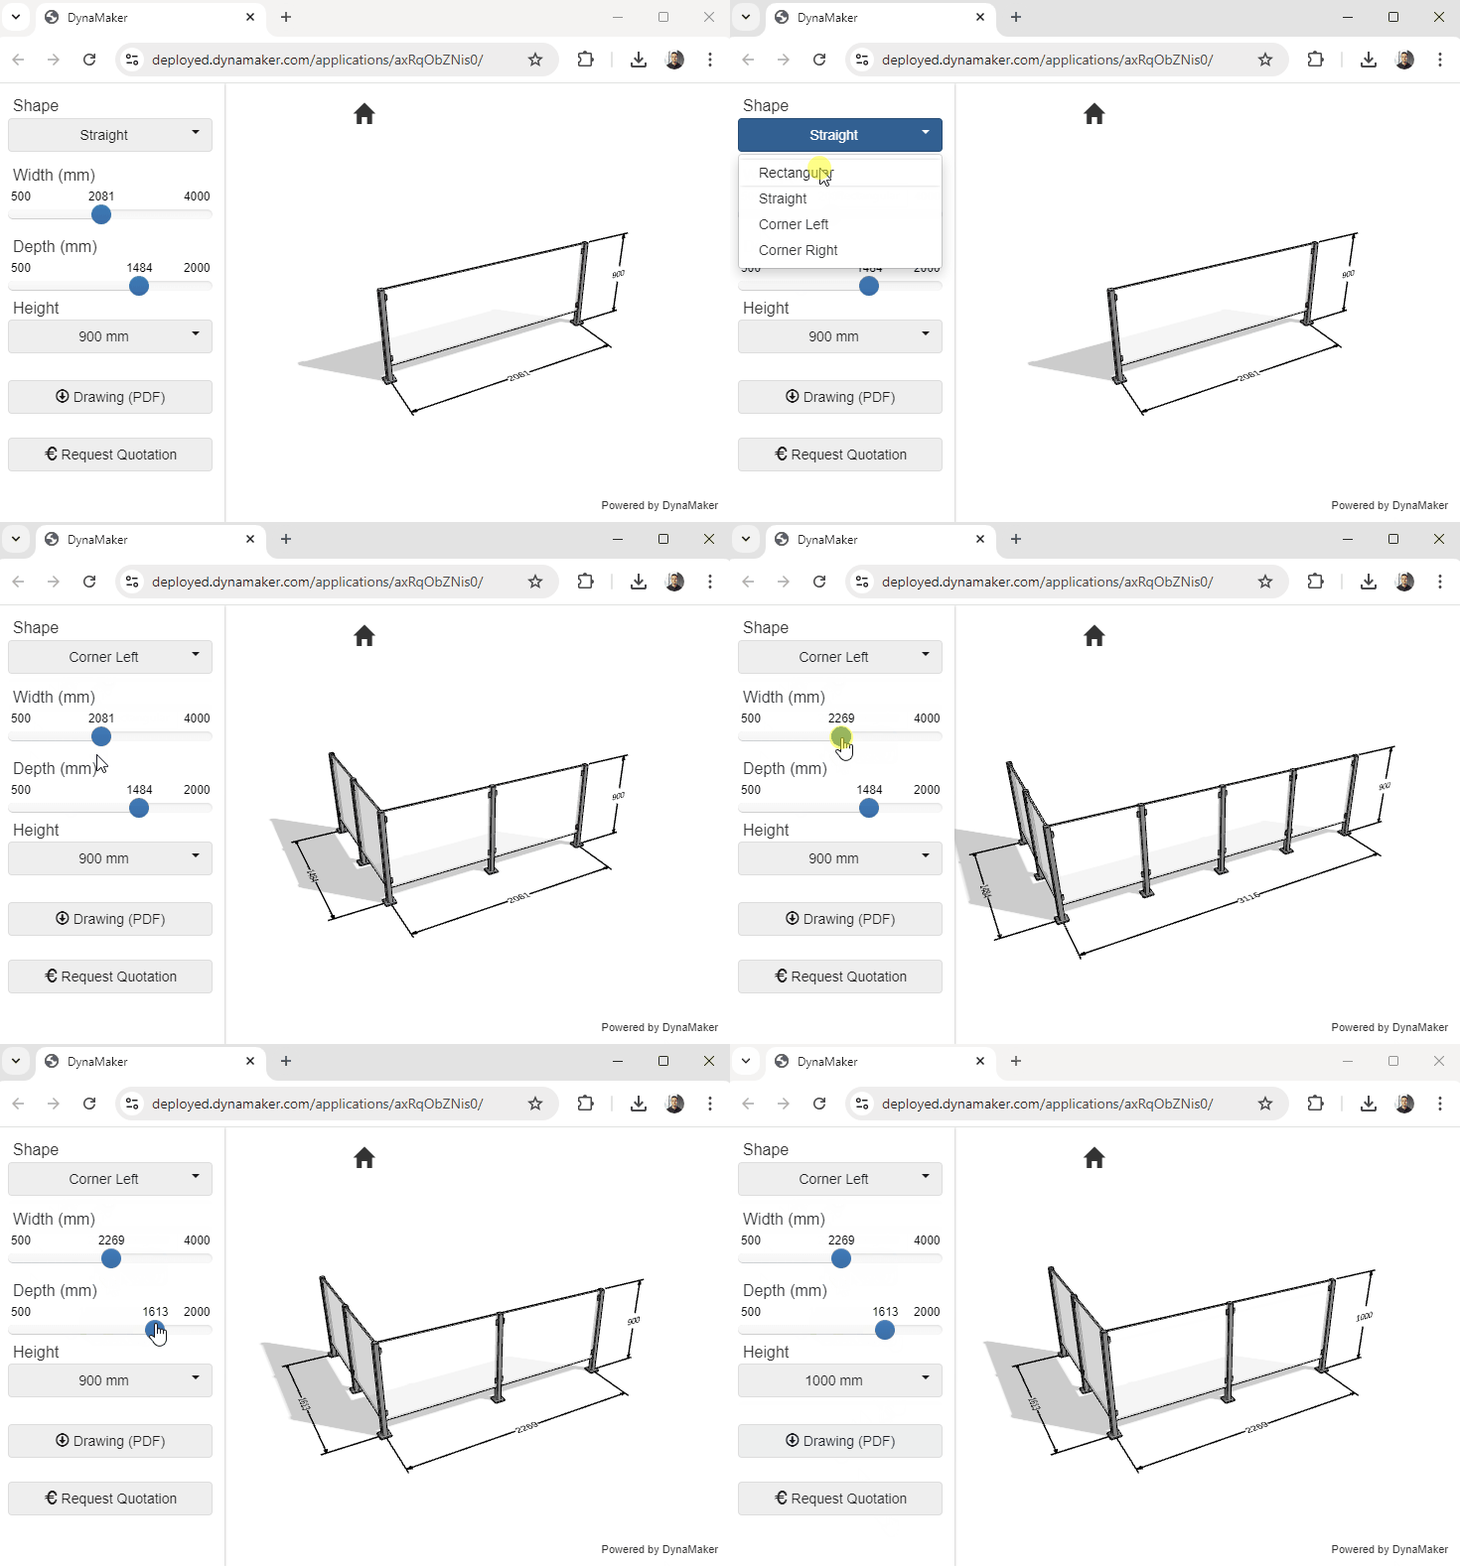
A 3D configurator makes it possible to show what a product looks like in the smallest detail and see how it changes as different choices for customization are made.
It significantly increases the possibility for a customer with limited product knowledge to be able to order even very complex products.
Features of a 3D configurator
- Visualization: The product is displayed in 3D while you configure. You can rotate and zoom to see the product from all angles.
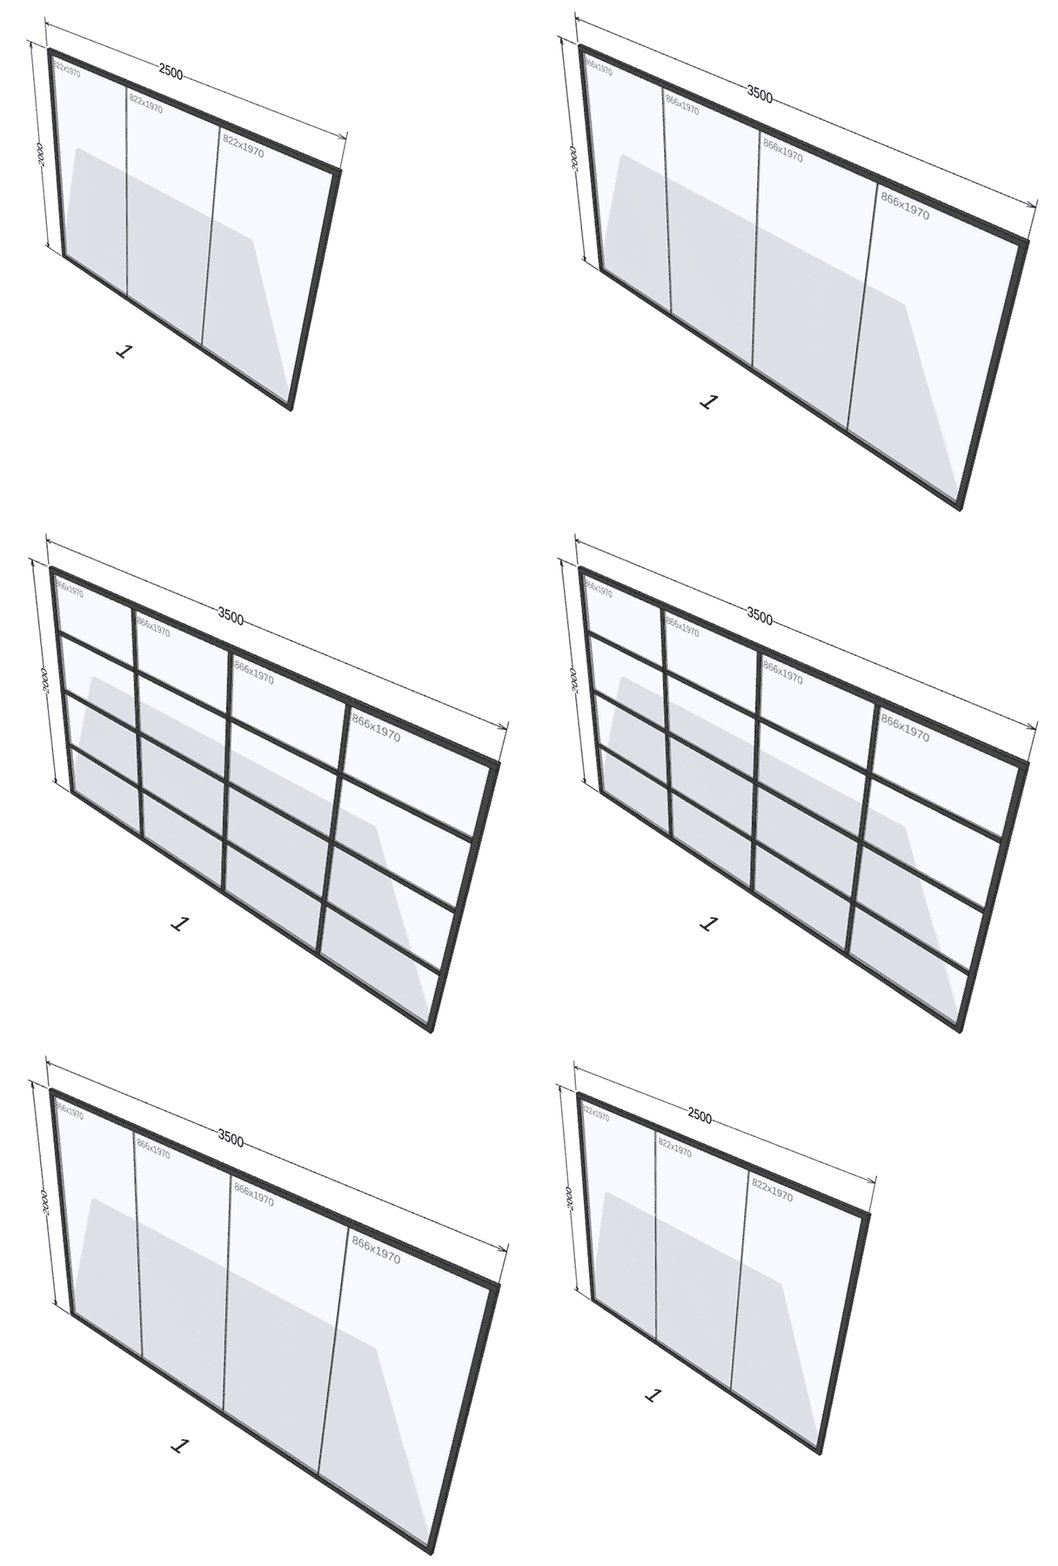
- Generates 2D files: drawings in pdf format.
- Generates 3D files: for example .step (3D neutral format) and .ifc (BIM).
- Generates BOM list: Complete list of included items.
- Integration with eCommerce or CPQ: For price calculations and inquiry or order
Rapid implementation – how it works
We have a well-established approach to produce a first version within a month.
- Product mapping: We help you to document your product rules and preferred way of working during configuration.
- Concept development: We develop a first prototype of your configurator.
- Step-by-step development: We develop the first live version and then continue to develop it step by step.
Fill in your details and we will contact you!
Save time – Earn money!
Are you interested in implementing a configurator in your business?
Contact us at KonfigDesign for a consultation, and we will help you find the best solution for your business.
Customer cases
Several of our customers have already benefited from our configurator solutions.
How we create a 3D configurator
When we help you develop a 3D configurator, the work is usually divided into the following steps:
1. Product rules
Which rules apply to the product to be configured?
- Product characteristics – for example length, width, height, color or modules that can be added or removed.
- User choices and restrictions – what features can the customer adjust, and what restrictions apply? For example, maximum height or selectable colors.
- Conditions between properties – for example, if a certain color can only be selected together with a specific dimension.
- Calculated characteristics – for example, if the weight of the product is calculated from other selected characteristics.
2. The result of the configuration
What should the configurator generate? Common results include:
- 2D drawings – for example, detailed views with dimensions, customized for both customer and production.
- 3D files – such as STEP files or other formats for further processing.
- Bill of Materials (BOM) list – part numbers of the selected components.
- Automatic emails – for example, order confirmations with attachments to the customer and internal messages to you.
- Integrations – direct connections to ERP systems, for example.
3. User interface
How should the customer interact with the configurator?
- The order of choices – in what sequence should the user make their choices?
- Step-by-step configuration – if there are many choices, it can be useful to split the process into different steps.
- Visual aids – do product choices need to be illustrated with pictures?
- Instructions – are explanatory texts required to guide the user?
- Environmental visualization – should the product be displayed in a context, for example in an environment?
4. Product components
The configurator builds and visualizes the product in 3D, which can be done in different ways:
- Static 3D files – for components that always look the same, existing CAD files can be used, or we can help create them.
- Dynamic 3D models – for components that change according to the user’s choice, we develop flexible models, possibly based on existing files.
5. Integrations
The configurator is often part of a larger IT environment and may need to be connected:
- E-commerce platforms
- ERP system
- CRM system
The extent of integration varies depending on existing systems and technical requirements. The first step is to analyze the needs and choose the right solution.
6. Implementation – step by step
Once the previous steps are completed, we can start developing the configurator.
We work according to agile methods, which means close collaboration with you as a customer, as well as ongoing deliveries in smaller steps for continuous testing and adjustment.
- Concept phase – a first version is created to test core features:
- Can existing 3D files be used?
- Do the necessary calculations work?
- Are the integrations feasible?
- Internal test version – the configurator is tested by internal staff and possibly selected customers to identify and correct any shortcomings.
- Continuous development – based on priorities, more features are introduced gradually, with the most important improvements implemented first.

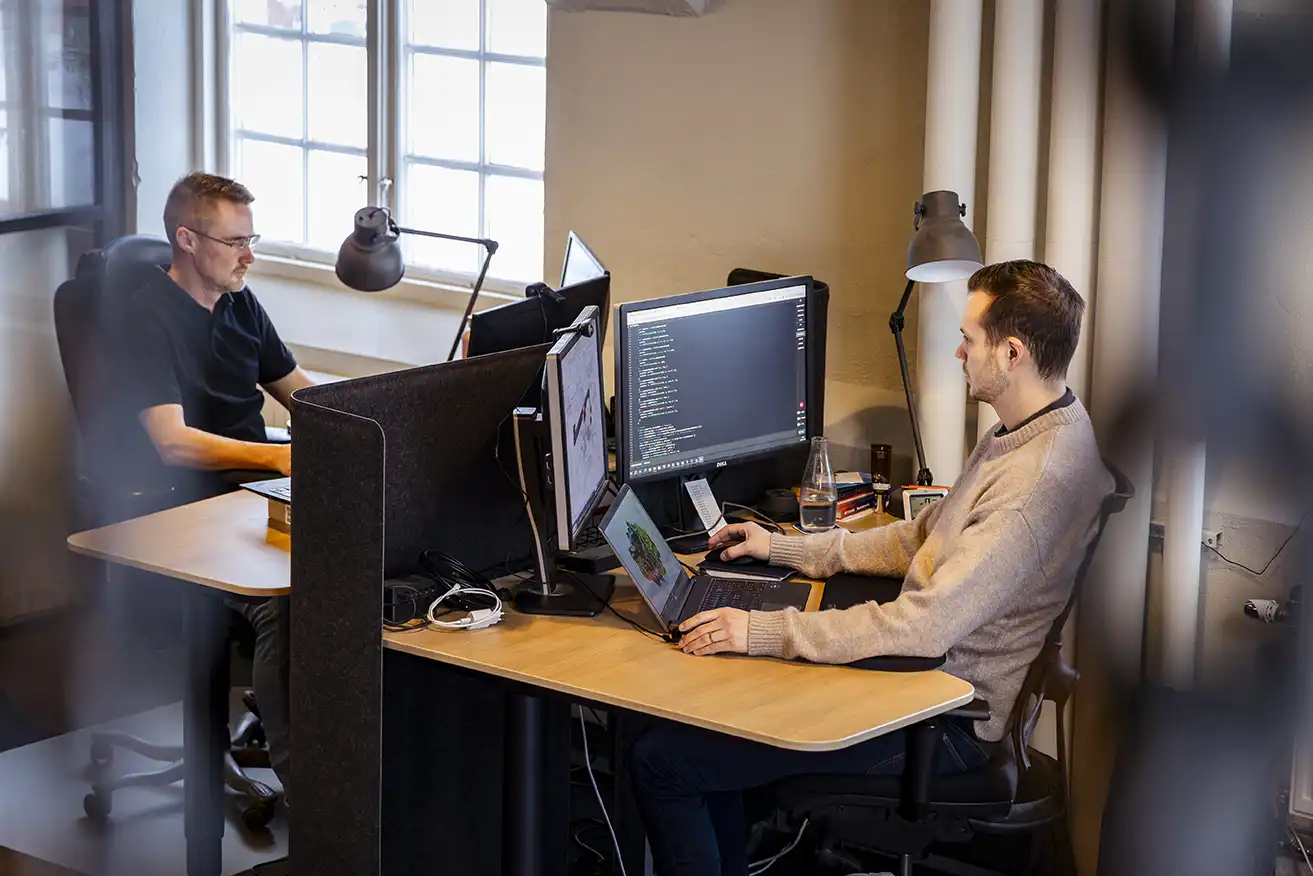

 Our 3D configurators help our customers to easily visualize and customize our products and order via the webshop. We also save a lot of time internally because all the documents are created automatically.